USER MANAGEMENT
1.1 Admin > Users > Users
New user registration
Click the "add" button in the top menu to add a new row. Enter your information and click Save to register a new user.

- User ID : ID to use when logging in.
- Password : This is the password that you use to log in, and your entries will be saved, displayed encrypted.
- User Name : Name of the logged-in user.
- Management ID : This is a group ID that has use authority for a server to be used in a product for each user and information and a menu to be received when an alarm occurs. This information can be configured from the "UserMgmt" menu and assigned per user. If there is no UserMgmt configuration initially, it will be marked DEFAULT.
- Email : user's mail address.
- Phone : user's mobile phone number.
- Language : You can choose which language to use the product in. Currently, we only offer English, but we plan to offer many other languages in the future.
- AddTime : The date which the user registered is automatically entered.
- Last Modify Date : The date of the last change of information for the user is automatically entered.
1.2 UserMgmt
This screen configures each feature-specific permission group to allow users to gain permission to use the following information.
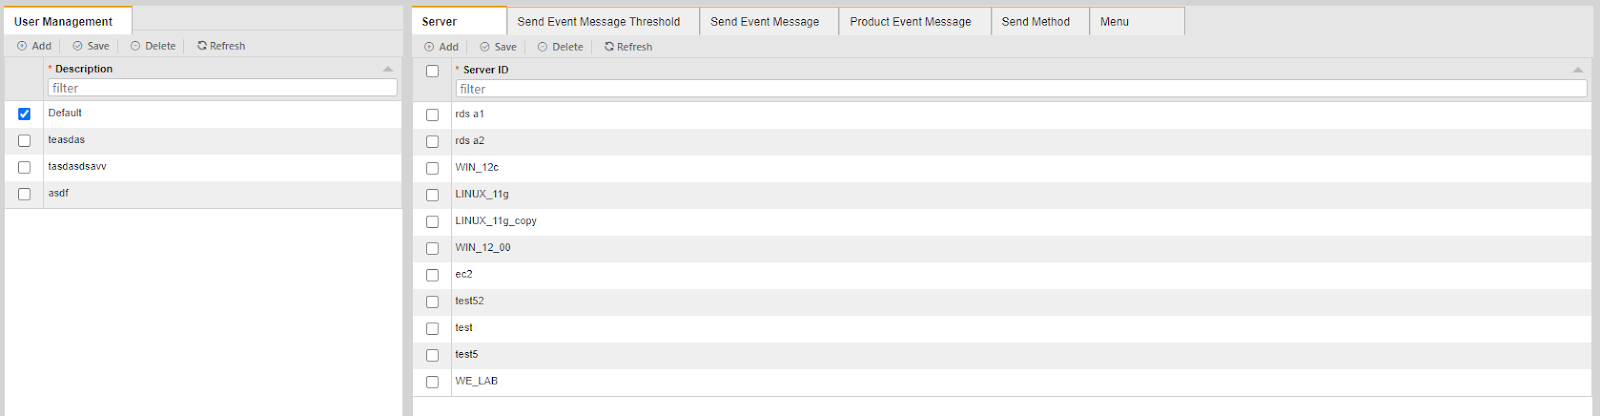
You can add and delete group names for permissions on the left side of the screen. By clicking the group name on the left, you can register, modify, and delete the information about the user's server on the right side of the screen, the level of alarms raised by server, whether or not alarm messages have been received on the server with no threshold, and the contents of the administrator screen that can be set.
- Server : Register the servers you want to monitor from the Server menu. Among registered servers, you can grant monitoring permission to those users. If you register the desired server in the left group name and assign the group to the user (Management ID), the user can monitor only the servers you assign on this screen.
- Send Event Message Threshold : The server that you set the threshold for the indicator of the server you want to monitor will automatically appear on this screen. (You can set the threshold for the server alarm in the Server Mgmt menu.) Set whether or not to receive the alarm level when the configured threshold is reached, For example, if Warning is set to 'Y' and Critical is set to 'N', the alarm only occurs when the threshold is within the Warning range and notifies the user.
- Send Event Message : You can choose whether to receive alarms that occur without thresholds. For example, Oracle alertlog triggers an alarm, but there is no threshold configured. Therefore, for alarms that do not have a threshold set, set whether or not to receive alarms for each server and event.
- User ProductEvent Message : For errors that occur on the product itself, the user can choose whether to receive the message. The default is set to Never Receive, and you can set UseYN to "Y" if you want it to be set.
- Menu : You can add functions to menu on the management screen. You can assign specific menus to the product's "Admin" menu, or you can assign functions to the group on the left for use with the overall administration menu. If you need new administrative rights features, simply click the "Add" button to add a menu. When you select a check box and press the "Delete" button to remove unnecessary management, the unnecessary management features do not appear in the product.
If nothing is added to Menu, the user will not see the menu at login.
1.3 UserxAccount
If the user group specification described above is a permission to use for each individual function, "UserxAccount" is a menu that allows you to specify whether the concept is a system administrator or a general user. A user specified by the Super User has all privileges.
